External Apps Tutorials
Padcaster Resource
Introduction
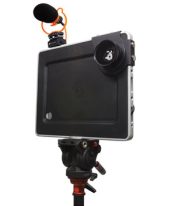
Padcaster is an all-in-one toolkit that many schools are using as a mobile video production studio.
Are you new to using a Padcaster? We’ve created this guide to help you get started. You’ll find information about how to set up your Padcaster, how to record, and how to share your videos. We also offer some suggestions for using your Padcaster with students and point you to additional resources to learn more.
Contents
- Set Up Your Padcaster Kit
- Record a Video
- Share a Video
- App Integration
- Instructional Strategies
- Additional Resources
- Help
Set Up Your Padcaster Kit
The topics in this section include both a quick start guide and an advanced setup guide. If your school has purchased a Starter Kit or if you’re new to Padcaster, the quick start guide will introduce you to the essential components needed to begin. If your school has purchased a Studio Kit or a Starter Kit with additional accessories, the advanced setup guide is for you. If you’re not sure where to start, take a look at the quick start guide first and then move on to the advanced setup guide as needed for additional features.
Quick Start Guide
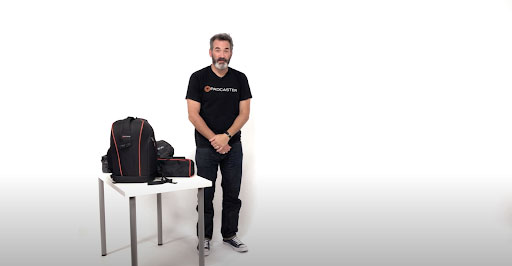
This video demonstrates how to set up the basic components needed to begin using your Padcaster. This setup includes most components included in a Starter Kit, but it is also a good place to start if your school has purchased a Studio Kit. Use the links below the video to jump to the section related to a specific component.
Padcaster Starter Kit
[ 00:33 – 03:38 ]
[ 04:37 – 05:42 ]
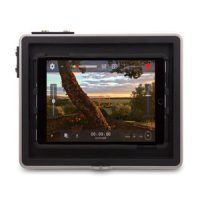
[ 05:47 – 7:26 ]
[ 08:21 – 09:30 ]
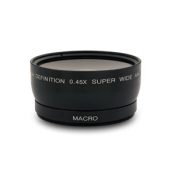
(Optional) Wide-angle lens
[ 07:31 – 08:20 ]
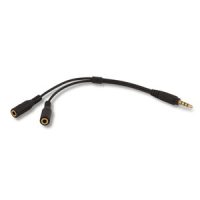
(Optional) Dual-mic headphone splitter
[ 09:31 – 10:25 ]
Mounting an iPad in Padcaster
If your school purchased an iPad Pro 11″ Gen 1 and 2, iPad Air 10.9″, iPad Pro and Air 10.5”, iPad 10.2” 7th and 8th Gen, iPad 10.2″ 2020, iPad 9.7″ 5th and 6th Gen, iPad Pro 9.7, iPad Air, or iPad Air 2, this additional video may be helpful.
Advanced Setup Guide
The following video demonstrates how to set up a complete Studio Kit. If your school purchased a Starter Kit and some additional accessories, you might also find sections of this video helpful. Choose one of the links below the video to jump to the section of the video related to a specific component.
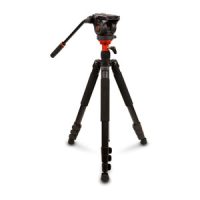
[ 00:35 – 03:18 ]

[ 04:08 – 05:53 ]
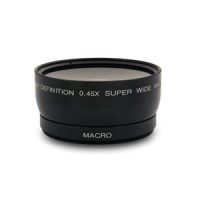
Lenses (wide-angle and telephoto)
[ 05:56 – 06:30 ]
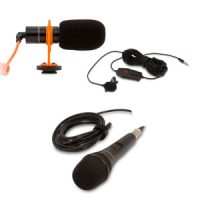
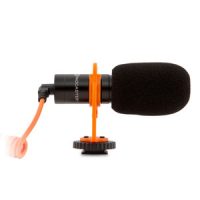
Microphones (unidirectional, lavalier, and stick mic)
[ 06:30 – 07:35 ]
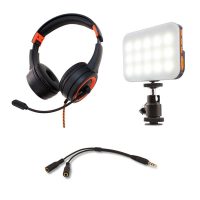
Headphones, headphone splitter, LED light, and lens sticker
[ 07:35 – 12:00 ]
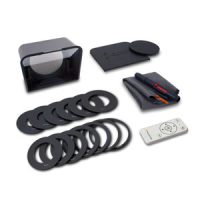
[ 12:05 – 13:28 ]
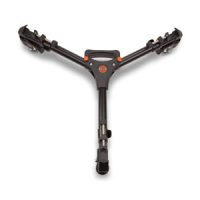
[ 15:37 – 17:33 ]

[ 17:34 – 19:26 ]
Additional Advanced Resources
Padcaster Parrot Teleprompter App
Turn your mobile device into a teleprompter with the Parrot Teleprompter app. After installing the app, pair the Parrot Teleprompter Remote to your mobile device to easily control the scroll speed and size of the text. This app is available on both iOS and Android.
Padcaster Producer
Take your projects to the next level using the Padcaster Producer app. With this app you can replace the video background so that subjects appear to be in a different location, track subjects so they stay in focus even when they move, or livestream to any popular video streaming service.
Record a Video
Using the Built-In iPad Camera
The easiest way to start recording with your Padcaster is to use the built-in camera on your iPad. Follow these steps.
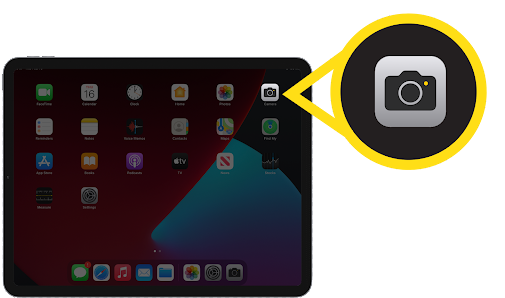
- Select the Camera icon to open the app.
- Choose Video mode.

- Tap the Record button.

- When the iPad camera begins recording, the circular red button changes to a square and a time recording indicator begins counting up.
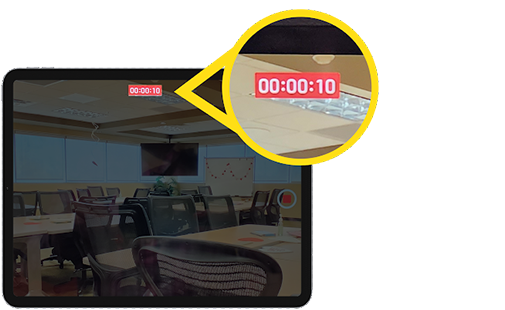
- To stop recording, tap the Record button.

To learn more about using the built-in camera, refer to the iPad User Guide. This guide includes information about recording slow-motion video and time-lapse video and changing the video resolution.
Sharing Video
When you record video using the built-in camera, your videos are saved to the iPad and available from the Photos app. To access and share these videos:
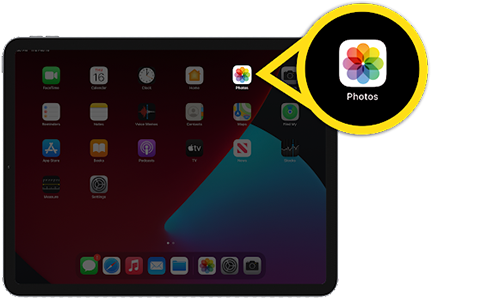
- Open the photos app.
- Select a video or photo to share.
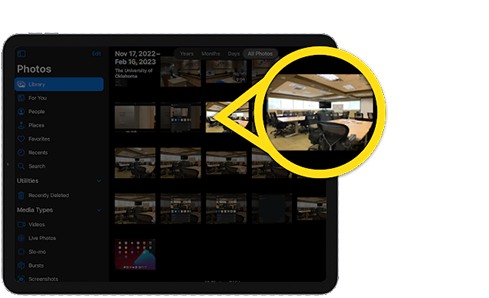
- Select the share icon.

- Choose a sharing method. You might need to scroll to view all of the options. We recommend Google Drive for its ease of use, but you can use any method that you prefer.
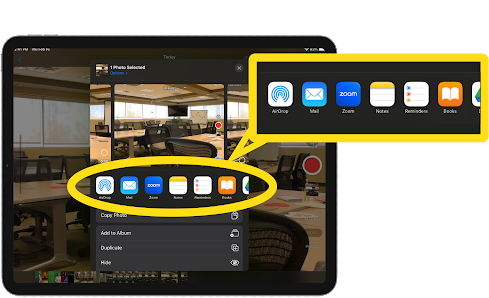
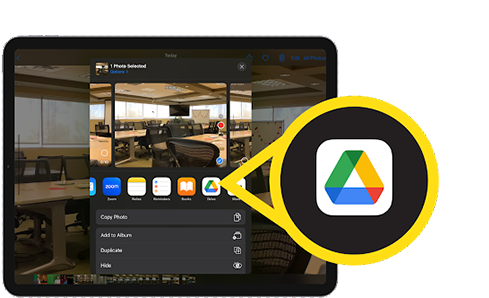
To learn more about sharing options, refer to the iPad User Guide.
App Integration
Enhance your classroom usage of the Padcaster with one of several iPad apps. These apps are an easy way to scaffold more complex projects.
View the Padcaster Apps collection on the K20 LEARN website or in the list below. These apps support features such as adding effects, music, and discussion threads.

A flexible video editing tool that allows students to easily create short, publication-ready videos. Students can edit videos with a large library of tools, including transitions, effects, and music.

A free iPhone and iPad app for making fun videos. Shoot, edit, add filters and effects, and share your videos.

Clipchamp is a video editing suite that can operate in a web browser or in the iOS app.

Capture student voice using this free video discussion app.

Green Screen by Do Ink makes it easy to create incredible green screen videos and photographs.

With iMovie, it is possible to create videos as part of a unit or lesson, to introduce a concept, or to use for student products.

WeVideo is an easy-to-use video creation tool. WeVideo allows students to create, collaborate, and express themselves with a learner-centered approach.
Instructional Strategies
View the video-based Padcaster Strategies collection on the K20 LEARN website or the list below. Engage your students and keep them on task while also offering autonomy.

Students collaborate to summarize content, create illustrations, and record a brief video about a research topic or recently covered topic that demonstrates their expertise and understanding.

This strategy is to help students reflect on their learning and provide meaningful feedback to teachers. Students can summarize and analyze information in short videos.

Students use an image to illustrate the main idea of a lesson, concept or text, paired with a hashtag that summarizes their understanding.

Students collaborate to determine their response to a prompt, and then create a short video to communicate that response in a creative way.

This collaborative strategy can be used to introduce new material or to review texts that students have read. 30-Second Expert helps students summarize and synthesize information in a brief, reciprocal activity.

Students create a YouTube-style unboxing video to demonstrate their learning.
Additional Resources
We hope this guide helps as you get started with your Padcaster. To learn more, refer to the resources below.
Lesson Ideas
Not sure how to get started incorporating Padcaster in the classroom? Try one of the following projects that can work with any curriculum or grade level.Project/Lesson
Strategy
+
Tech Tool
Advantages
Food Webs
Science ⸱ Middle School
Students create or print images to show what they’ve learned about food webs. Ask them to come up with a scenario that might disrupt an ecosystem and how it would affect the balance.
View the Circle of Life lesson in LEARN.
Cut it Out

+
Apple Clips

- Active engagement
- Reflection
- Review
- Problem solving
Allotment in Indian Territory
Social Studies ⸱ High School
Students create or find images to explain the U.S. government’s perspective toward allotment in Indian Territory. Ask students to record themselves explaining why they chose to include each image.
View the Allotment in Indian Territory lesson in LEARN.
GramIt

+
WeVideo

- Conversation starter
- Infer
- Review
- Reflection
- Evaluation
Femme Fatales
English/Language Arts ⸱ High SchoolStudents read two short stories about femme fatales. After comparing and contrasting the two characters, they write and record a Dateline-style interview.
View the Femme Fatales: The Landlady & Mrs. Maloney lesson in LEARN.
Two-Minute Documentary

+
Flip

- Conversation starter
- Infer
- Review
- Reflection
- Evaluation
+
Twitter is also a great resource to see how other schools are using their @Padcaster.
Camera and App Support
Green Screen
Editing Video
- Trim, edit, add transitions, and apply presets to video in Adobe Premiere Rush
- Adjust light, apply filters, crop, or adjust the perspective of your iPad videos
- Edit video in Clipchamp
Help
- If you are having difficulty with your Padcaster equipment, your best option is to contact Padcaster customer support.
- If you would like support using Padcaster in the classroom, reach out to your K20 direct contact or email the K20 Padcaster support team at padcasterhelp@groups.ou.edu.
Have a question? Want to share with us how you’re using your Padcaster? Want to provide feedback related to this resource? Send us an email or complete this contact form.


